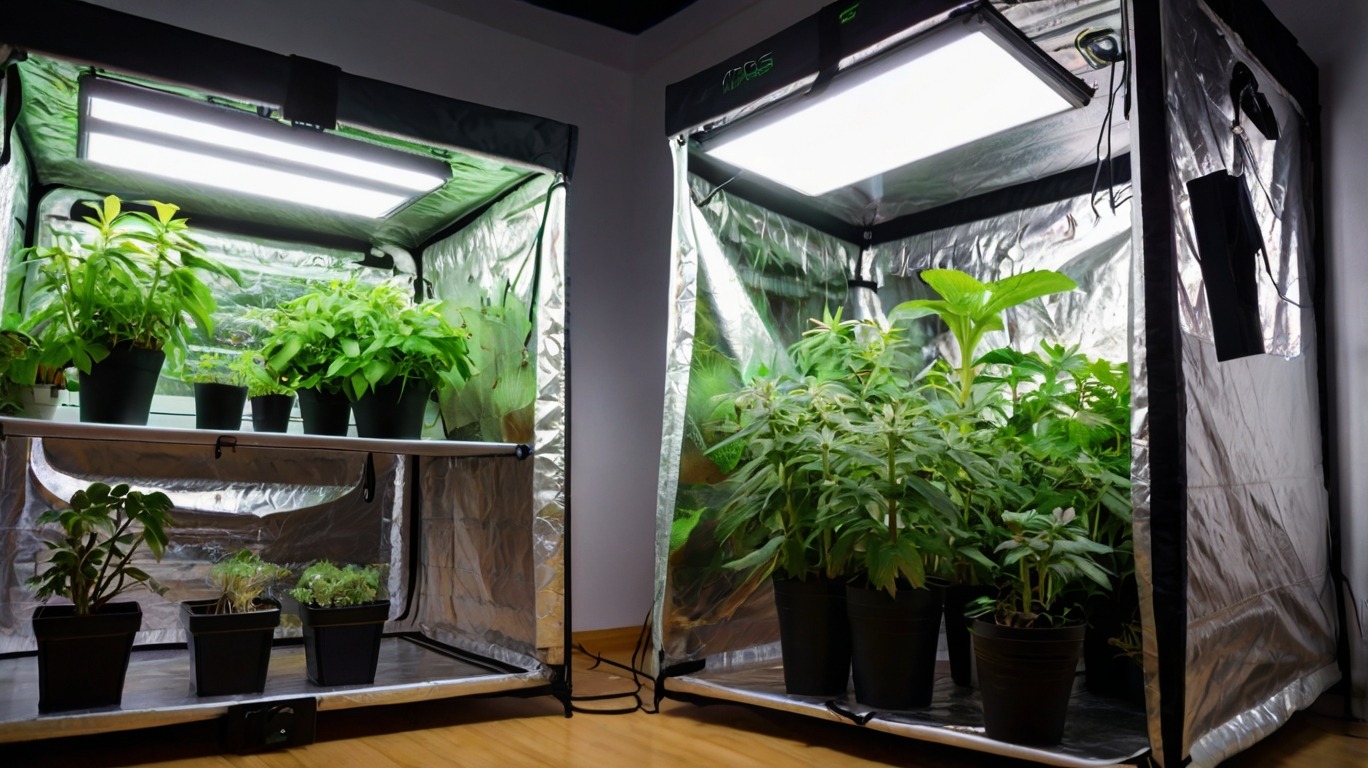
So, you want to start growing your garden indoors. The quality of your grow tent is essential in ensuring you cultivate the perfect environment for your plants to blossom. They all help us to know more about the best solutions available for our indoor plants So today in this post we are going to discuss that which are the top 5 grow tents and how by opting for best grow tent deals you can take a review of aspects, attributes, and most importantly how it can curate or add a lot to our indoor gardening? For the novice and the experienced grower, the type of grow tent used makes for all the difference in accomplishment of their indoor garden.
Factors to Consider When Choosing the Best Grow Tent
Size and Space
Size and SpaceWhen select the best grow tent,, always consider the size and space of the tent. The tent should be big enough to house your plants comfortably it must also perfectly fit within your chosen indoor space.
Material and Durability
Material and Durability If you are looking for a highly durable option, the best contributor to yearlong indoor gardening, Minisol Material is the best material available for any grow tent I can recommend. When it comes to grow tents, their longevity is defined by the material used to manufacture it. Always make a point to choose superior tents that are crafted from tough, tear-proof material in order to guarantee longevity in harsh indoor gardening conditions. The material with high quality fabrication will stand by bottling a different spectrum of light and heat capabilities with enough insulation and reflection for plants growing, thus it is the best solution. Think also about how the tent is assembled and stitched, to be sure it able to handle lots of use and go.( A high-quality grow tent gives a safe and steady atmosphere for your plants to grow.
Ventilation and Airflow
You need proper ventilation for the right growing conditions within the tent. Make sure that a tent has enough vents and ports for air flow, inhibiting warmness and stagnant air. This way mold and mildew are less likely to grow on the plants and fresh air has a path to the plants. Also, think about choosing a powerful exhaust fan it allow to control enough moderate temperature and humidity in zone of tent. You can create a good environment by proper ventilation and this way your plants will grow at an optimum rate.
Reflectivity
Improvements in light output and better all-around growing conditions for plants can be had with a grow tent that features a very highly reflective interior lining. Ultimately, this can save growers a lot of money in energy expenses and make their indoor gardening efforts a lot more successful.
Accessibility and Convenience
Factors to consider when choosing the ideal grow tent for your indoor growing needs include accessibility and convenience requirements. Our indoor grow tents are equipped with large doors and observation windows, which allows you to check on your plants without having to open the door constantly. This ventilation hole allows for good air circulation which makes it easy to maintain. It will also make it easy for you to maintain and care for your plants as they grow. You will also need to keep in mind the design of the overall grow tent so it can be easily accommodated in your space and that you get good access to your plants. Planning for accessibility and ease will contribute to a smoother, more successful time growing at the indoor garden.
The 5 Best Grow Tents in the Market
VIVOSUN Grow Tent
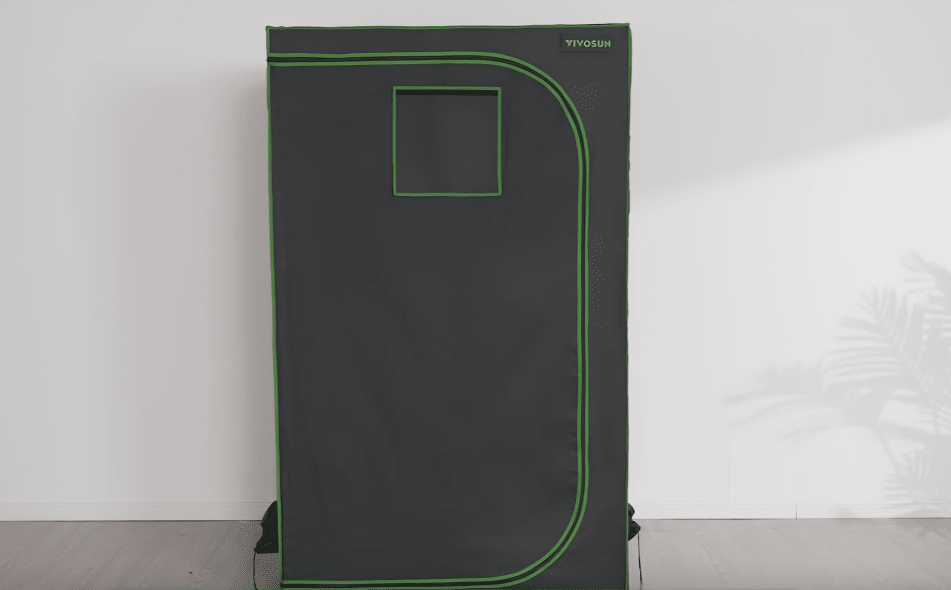
VIVOSUN Grow Tents come with several significant advantages such as lightproof seals, strong metal poles, ease of observation and maintenance, quick and easy installation, and thoughtful design specifications. These tents are constructed out of high-quality materials that help to ensure a growing environment that is both safe and secure. You will also want to look at what will fit best in your grow area and what you will get the most out of before purchasing anything so make sure to put some thought into your choice. Make a list of features for each grow tent you require, and then adjust it accordingly.
Pros
- long-term durability.
- Lightproof Design
- easy to set up
- Effective Ventilation
- highly reflective
interior lining
Cons
- Height Limitation
- Accessories Sold Separately
Gorilla Grow Tent
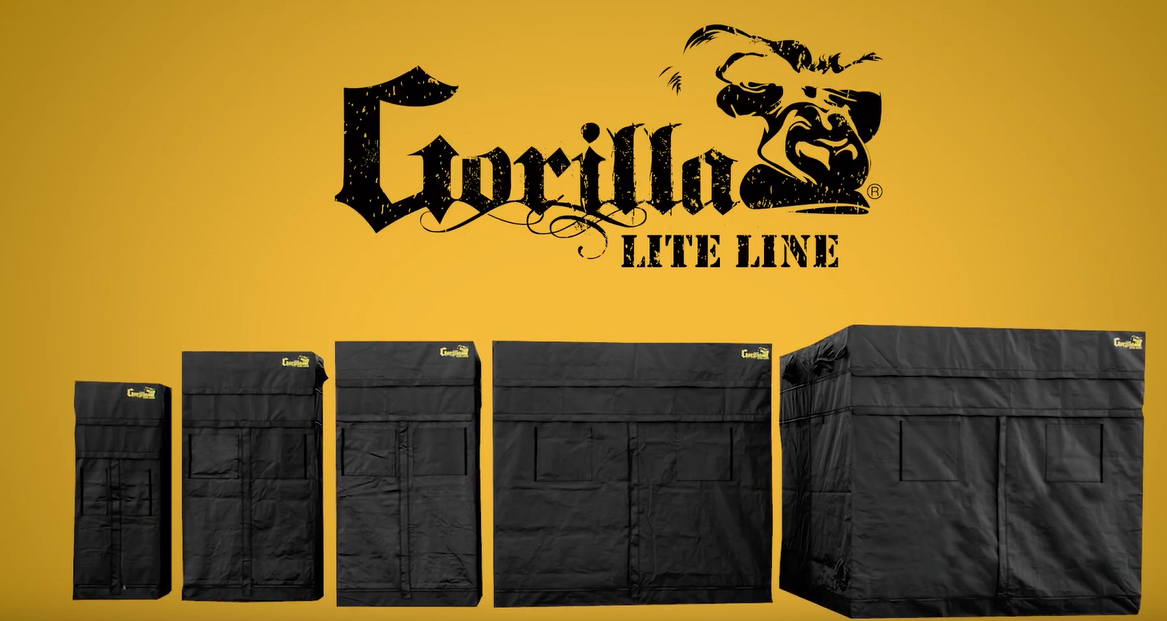
The Gorilla Grow Tent Lite Line is perfect for indoor gardening and it comes in several sizes so that you get the size you require. It is suited for vegetable gardening, flowering plants & mushrooms for either hydroponic or soil gardens. The height is adjustable allowing for bigger yields and flexibility in plant growth it is one of the most important feature of this grow tent. The-lite line is professional grade for professional results, but without the higher price! This grow tent offers a stable frame, extra steel poles, industrial-strength zippers, and lightweight yet strong fabric. In addition to having complete garden access, sunlight device may be resistant zipper covers, two x EZ view windows and other pro features. Made in California and supported by the best customer support in the industry, the Gorilla Grow Tent Lite Line is the way to go in indoor gardening.
Pros
- High-Quality Material
- Adjustable Height
- Great Light Reflection
- Strong Frame
- Multiple Ventilation Options
Cons
- Higher Price Point
- Limited Availability
CoolGrows Grow Tent
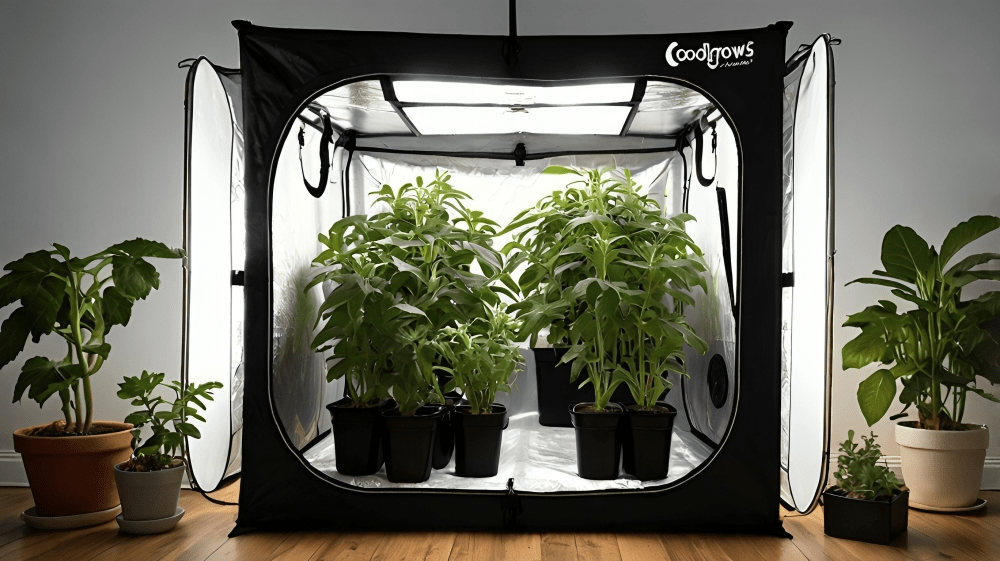
LivingXL Grow Tent Top Standout FeatureThe CoolGrows Grow Tent Combining both accessibility and the ability to grow indoors, the CoolGrows Grow Tent is one of the best pop up grow tent around. It is made of double-stitched fabric, making it completely light-proof, which is super important for ensuring consistent results under the photoperiod for your plants. This feature ensures that no external light is let in or out of the tent creating an ideal growth environment. There are a few features of the CoolGrows Grow Tent that stick out, and one of those is the simple assembly of it. It is designed to be user-friendly and with clear set-up instructions that mean growers will need to spend a few minutes setting up the tent, thus creating more time to concentrate on their plants. The grow tent is also backed by more vents and viewing windows to promote perfect ventilation and air circulation that are crucial for controlling temperature and humidity within your grow space. Good Air Flow & Easy Observation – Our indoor greenhouse is designed with a heavy-duty metal zipper with black lining to creat a light-proof seal with no light leaking, reducing light loss in your indoor garden; You can easily check the growing conditions in your plant, giving you a clear view of the plant growth. Proper light and fresh air is available when you want to.Start your planting earlier and have longer harvest time. Builtin mesh screen is prepared for natural ventilation; the CoolGrows Grow Tent has micro mesh pre-filters which can help manage air flow, moving air from outside and into the tent easily, keeping the air fresh inside the tent. And it is easy to clean or replace the mesh screen and black lining. Pros: On a more practical level, the CoolGrows Grow Tent is offered in a wide range of dimensions to cater to different grow sizes and space constraints. Which means it is as well-suited for a beginner as it is for someone who has been growing all their life, whether you are cultivating a small herb garden or multiple acres. The CoolGrows Grow Tent as a whole is strong, functional, and practical, making it a common choice amongst indoor plant gardeners who want to expand their desired plant nowadays!
Pros
- Durable Construction
- Easy Assembly
- Light-Proof Design
- Efficient Ventilation
Cons
- Complex Assembly
AC Infinity Grow tent
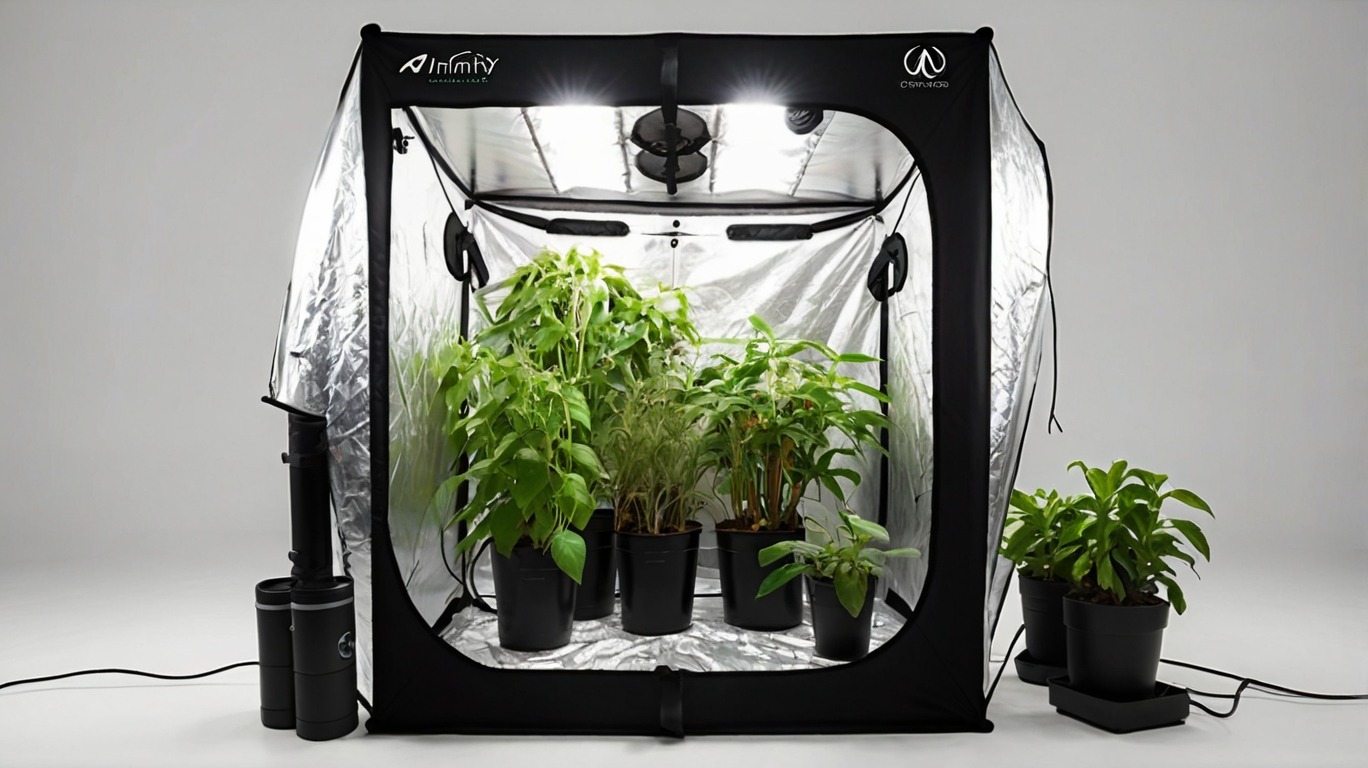
It have a heavy duty frame with 50% thicker steel poles, which can support 2x more weight than standard tents. Diamond mylar multiplies light reflection, and the 2000D canvas features a much higher density to stop any leaking of light. The design for the future also has a controller mounting plate with through holes for light-leak-free cable management. The 48”- 24”- 72” sized tent can hold 4 plants, has a viewing window and a reflective floor tray and also comes with a tool bag. As a whole, the AC Infinity Grow tent is among the best in indoor plant growth.
Pros
- High-Quality Construction
- Advanced Ventilation System
- High reflectivity
- Easy Assembly
- Thoughtful Design Features
Cons
- Limited Color Options
- Size Limitations
MARS HYDRO Grow tent
If you are in the market for the best grow tent , the MARS HYDRO Grow tent is a great option to consider. This grow tent kit includes a 2x4ft SP3000 SAMSUNG LM301B LED grow light, a 24″x48″x71″ grow tent (not include the poles), a 4″inline fan with speed controller, a 4″carbon filter, 33ft length flex ducting, duct clamps, timer, humidity thermometer, and 4pcs 5 Gallon grow bags, suitable for 2-5 plants. SAMSUNG LM301B GROW LIGHT Dimmable for GREENHOUSE; with the top bin 960pcs Samsung LM301B LEDs & MEANWELL Driver, best modified efficiency up to 2.5umol/J, more than 2.5gram per wattage (power draw). The grow tent is made of 1680D extra-thick canvas material, which will not tear easily and is lightproof, with 13% thicker zipper teeth and a 33% higher bearing capacity than the average frame. The 4″INLINE FAN KIT is, great and convenient for ventilation. In the end, this tent is perfect for helping you get a jump start on maximizing yields, and it is a simple turn-key solution for another successful harvest.
Pros
- high-quality materials
- designed to be lightproof
- making setup hassle-free
- highly reflective mylar lining
- Multiple Sizes
Cons
- Height Limitations
- Potential Light Leaks
Tips for Setting Up and Maintaining Your Grow Tent
Proper Installation
A grow tent needs to be installed in the right way to give you the best results for the long term. The Installation of your grow tent should done in accordance with the manufacturer’s directions from the get-go, it can be quite the hassle. In this way, you have a better usage out of it and your plants can work their best under the best environment. On the same note, make sure you do regular checks on your grow tent to ensure it is operating as perfect as it can. FURTHER READINGProper installation and maintenance play a significant role in how well your grow tent will perform and how successful you will be at growing plants within it.
Temperature and Humidity Control
Monitor and regulate temperature and humidity levels inside the tent to create an
optimal growing environment for your plants.
Regular Cleaning and Maintenance
Maintain cleanliness inside the tent by regularly cleaning surfaces and removing any
debris or dead plant matter.
Avoiding Common Mistakes
Learn from common mistakes such as overwatering, inadequate lighting, and poor
ventilation to optimize your indoor gardening experience.
Conclusion
Investing in a grow tent is essential for creating the ideal environment for your
plants to thrive indoors. By considering size, material, ventilation, and convenience, you
can select a tent that meets your specific needs and ensures successful cultivation


Social Media Integration